

👤 For pipe administrators
🔐 Available on all plans
🎯 For those who want to ensure each phase advances by the right person, at the right time
A question that comes up often in processes with multiple teams: how do you ensure that only the phase owner can move the card? It’s a legitimate concern. Without a well-designed flow, any member can advance a card prematurely, skip steps, or move a request that isn’t ready for the next stage.
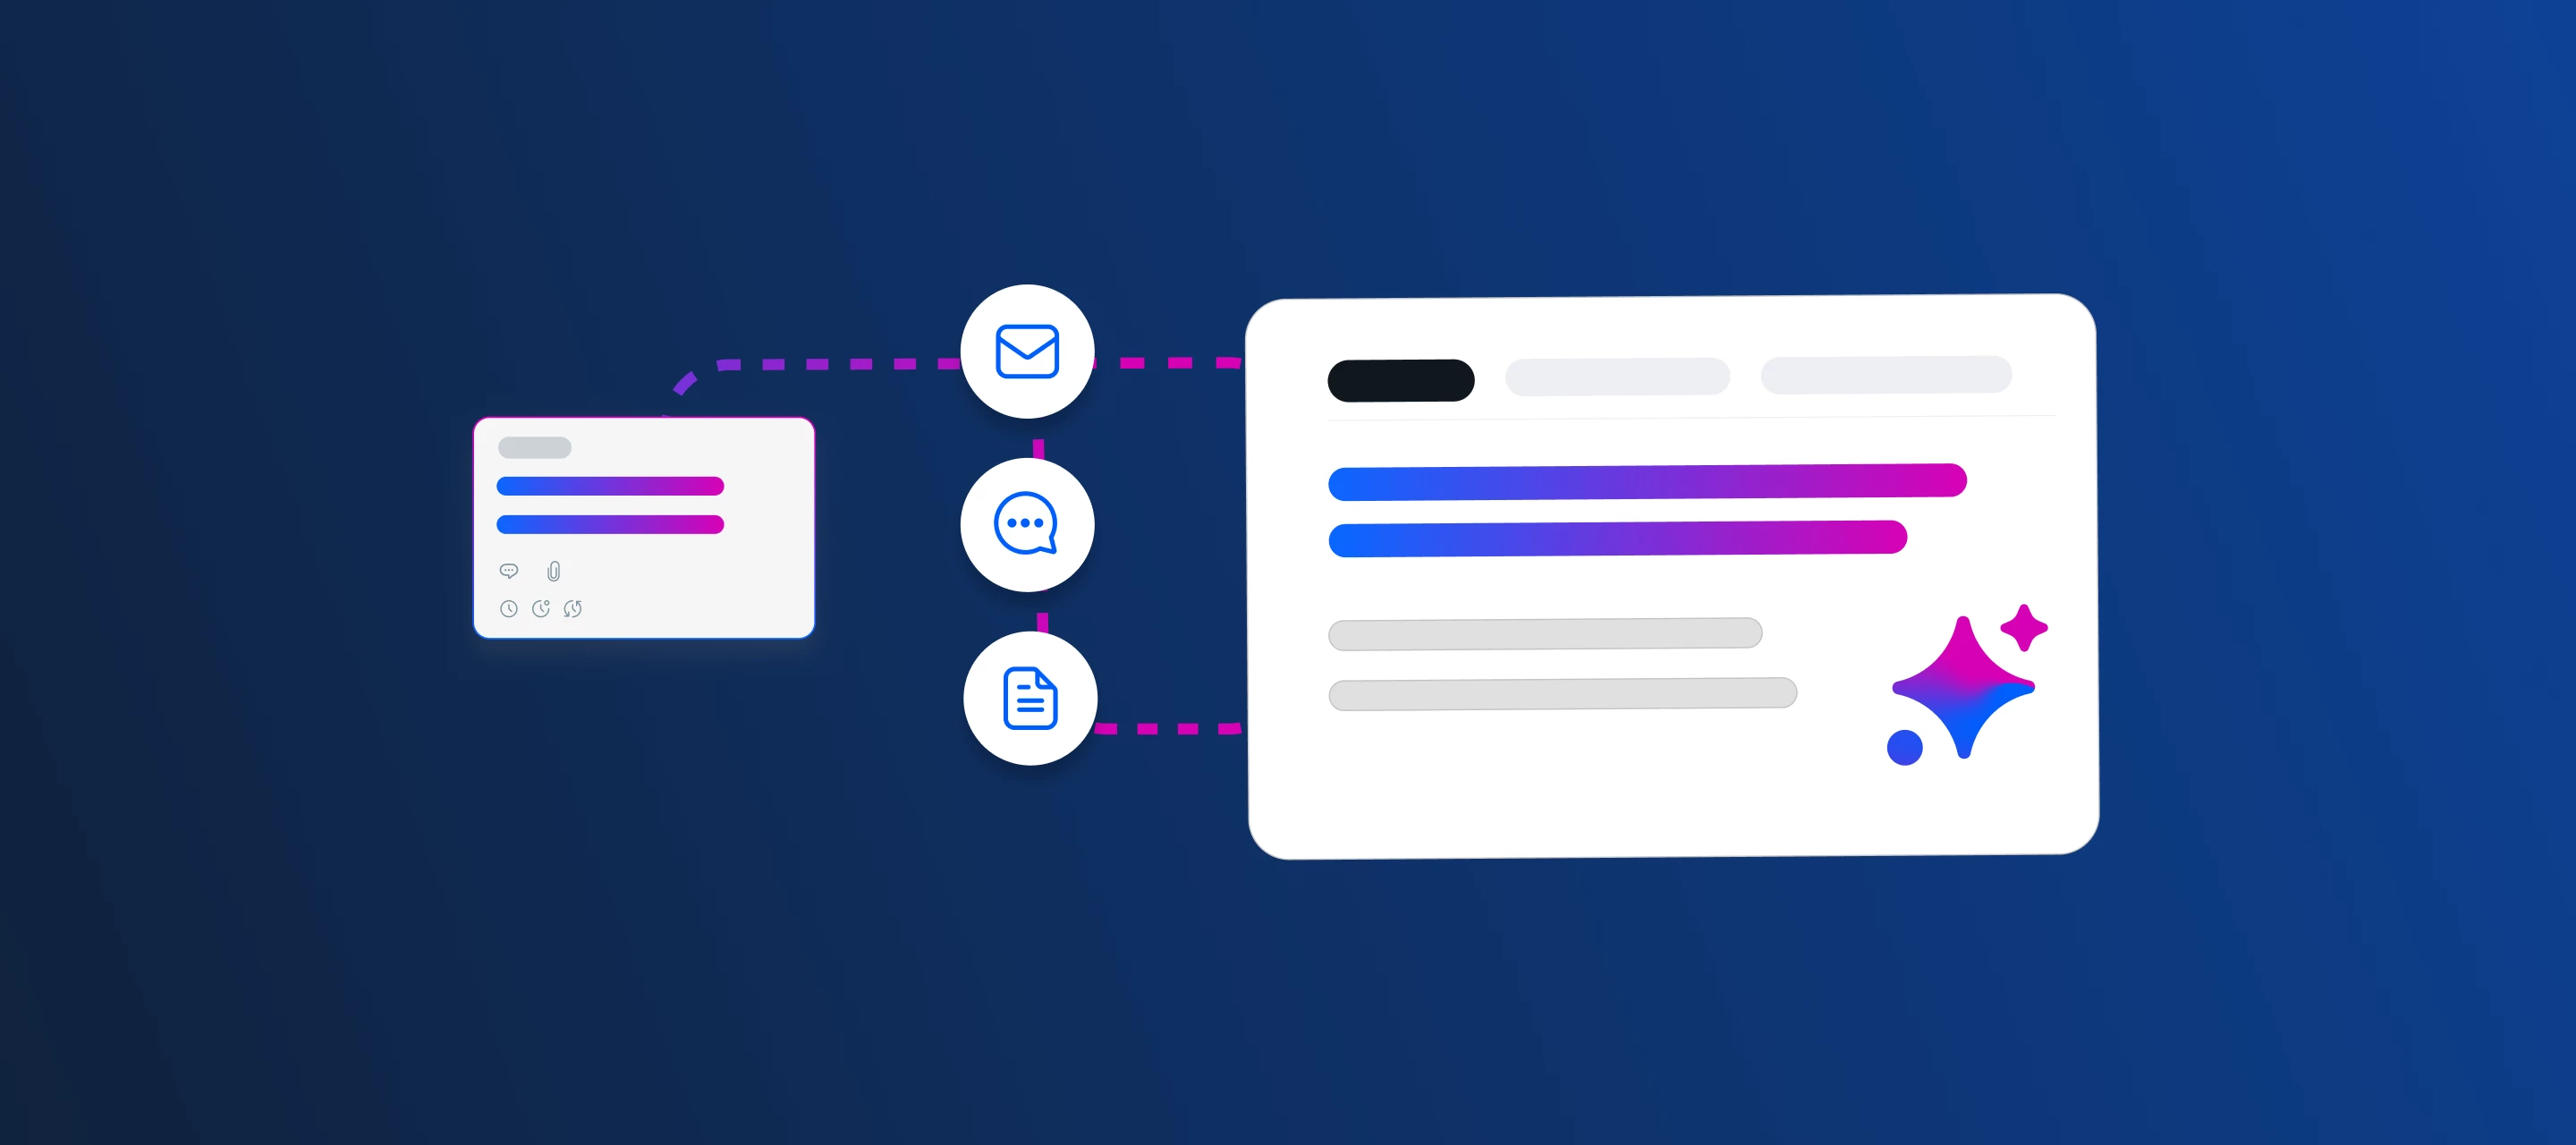
In Pipefy, phase movement control is resolved by combining four mechanisms: action buttons, pipe roles, phase owner, and required fields. Used together, they deliver a flow where every advance decision is intentional, traceable, and linked to the right person.
📖 What you’ll learn here:
The four phase control mechanisms
In Pipefy, controlling who moves a card and under which condition is a process architecture decision. Four mechanisms work together for this:
| Lever | What it controls | Note |
| Action buttons | Which action triggers the movement and who can trigger it | Requires automation linked to the button |
| Pipe role | What the person can do in any phase of the pipe | Operates globally for all phases |
| Phase owner | Who receives card ownership when it enters that phase | Defines responsibility and restricts button triggering |
| Required fields per phase | The card doesn’t advance while the fields aren’t filled in | Controls movement via validation, regardless of who moves |
The action button is the most powerful and most underused lever. The other three are layers that add up. A well-designed process uses all four together.
Action buttons: what they are and what they can do
An action button is a configurable element within the card that triggers a specific automation when triggered. It appears as a visible button in the card interface, in the phase for which it was configured.
The actions a button can trigger include:
- Move the card to a specific phase. The most used action for flow control. The card advances only when someone triggers the button, not by dragging.
- Update a field in the card. Useful for automatically recording approval date, next phase owner, or updated status at the moment the decision is made.
- Send an email or notification. Triggering the button communicates to the next team without depending on a manual message.
- Create a connected card in another pipe. When approving in the procurement pipe needs to automatically generate a record in the financial pipe.
- Distribute assignee. Assign the card to the next available analyst when the phase advances.
A single button can chain multiple actions at the same time. The "Approve documentation" button can move the card, update the status field, notify the IT team, and create the equipment request in the IT pipe, all in one click.
The action button is the visible trigger in the card. The automation is what executes the linked actions. Configure the automation first, define all the actions it should execute, and then associate the button with it as the trigger event.
The three decisions before creating a button
Before opening the automations editor, it’s worth being clear about three definitions that determine how the button will work. Without them, it’s easy to create a button that appears in the wrong place, for the wrong person, triggering the wrong action.
| Decision | What it defines | Onboarding example |
| Which action does the button trigger? | The linked automation: move card, update field, notify member, create connected card | Move card to "Equipment requested" and update Assignee field with IT analyst |
| In which phase does the button appear? | The phase where the button should be visible in the card | Appears only in the "Documentation under review" phase. In any other phase, the button doesn’t exist. |
| Who can trigger it? | User’s role in the pipe or whether they’re the card’s assignee | Restricted to the card’s assignee — only the HR analyst assigned to the phase sees and triggers it. |
How to map the three decisions for onboarding:
Phase "Documentation under review":
Action: move to "Equipment requested" + update assignee with IT analyst + notify IT team.
Appearance phase: only in "Documentation under review."
Who triggers it: card assignee (assigned HR analyst).
Phase "Awaiting manager approval":
Action (Approve button): move to "Equipment requested" + records Decision = Approved.
Action (Reject button): move to "Pending adjustment" + record Decision field = Rejected.
Appearance phase: only in "Awaiting manager approval."
Who triggers it: users with manager role.
Controlling which phases the card can go to
In addition to the action button, Pipefy allows configuring directly in each phase which are the possible destinations for card movement. By default, a card can only be moved to the next phase in sequence. When you enable other phases as possible destinations, the manual movement button starts offering these options.
To configure a phase’s destinations, access the three dots next to the phase name in the kanban and select Edit "Move to." In the panel that opens, activate or deactivate the phases to which cards can be moved from there.
Use this configuration together with action buttons to create flows with controlled branches. Example: in the approval phase, disable the default destination (next phase) in the Move to panel and configure two buttons: "Approve" moves to execution, "Reject" moves to pending adjustment. The result is that all movement must go through one of the two buttons, each with its linked action.
When a phase has the destination restricted to only one possible phase and movement is configured exclusively via button, non-admin members lose the option to drag the card to other positions in the kanban. This is intentional: process design controls the flow, not individual behavior.
Phase owner: ownership that the button respects
The phase owner automatically assigns card ownership when it enters that phase. Combined with action buttons restricted to the owner, it creates the direct control most teams seek: the card advances when the designated person makes the decision.
What this configuration delivers:
- The card arrives in the approval phase and is automatically assigned to the responsible manager
- The action button configured for "assignee only" only appears for that person
- The team sees in the kanban who has each card without needing to open it
Worth knowing: the triggering restriction needs to be configured in the button itself. The phase owner defines ownership, but it’s the button configuration that determines who can trigger it.
Required fields per phase: no one advances without the right information
Required fields configured in a phase ensure the card only advances when that information is filled in. This control applies to any movement mechanism and any access level.
Combined use: in the onboarding approval phase, configure the "Decision" field (approved / rejected) as required and the "Approve and advance" button restricted to the responsible manager. The manager needs to record the decision before advancing, and no one else can advance without going through that record.
Required fields are per phase, not per start form. A field can be optional at the process entry and required in a specific phase — useful when the information is only available after the process advances.
The complete model applied to onboarding
Combining the four mechanisms in the employee onboarding process:
- Phase: Documentation under review
Owner: HR Analyst (automatically assigned upon entering the phase).
Required fields: received documents checklist.
Button "Documentation approved": moves to Equipment requested, notifies IT. Restricted to card assignee.
Button "Request adjustment": moves to Pending adjustment, notifies employee. Visible to all members.
Destinations configured in Move to: only Equipment requested and Pending adjustment.
- Phase: Awaiting manager approval
Owner: Area manager (automatically assigned).
Required fields: Decision field (Approved / Rejected) + justification if rejected.
Button "Approve": move to Equipment requested, records Decision = Approved. Restricted to managers.
Button "Reject": move to Pending adjustment, records Decision = Rejected. Restricted to managers.
Destinations configured in Move to: only Equipment requested and Pending adjustment.
- Phase: Access in configuration
Owner: IT Analyst (automatically assigned).
Required fields: configured access checklist.
Button "Access completed": moves to Completed, notifies HR. Restricted to card assignee.
Destinations configured in Move to: only Completed.
How to test whether the control is working
Before launching the process to the team, test each phase with a member account, not an admin. What to check:
- Action buttons appear only in the configured phases
- The button restricted to the assignee doesn’t appear for members without that role
- The card doesn’t advance if the phase’s required fields are blank
- The Move to panel only offers the configured destinations
- The phase owner is correctly assigned when the card enters it
Admins have permissions that members don’t have. What appears to be working in the configuration account may behave differently for the operational team. Reserve a few minutes to test with the real profile before launching.
Before launching, confirm:
☐ The three decisions for each button are defined: action, appearance phase, and who triggers it
☐ The possible destinations for each critical phase are configured in Move to
☐ Required fields for each phase reflect what the process needs before advancing
☐ Phase owner is assigned in all steps with defined ownership
☐ The process was tested with a member account