Solved

Access to beta features

  • 14 December 2021
  • 5 replies
  • 172 views

Userlevel 2

Hi, I asked this on the support chat but don’t receive a straight answer.

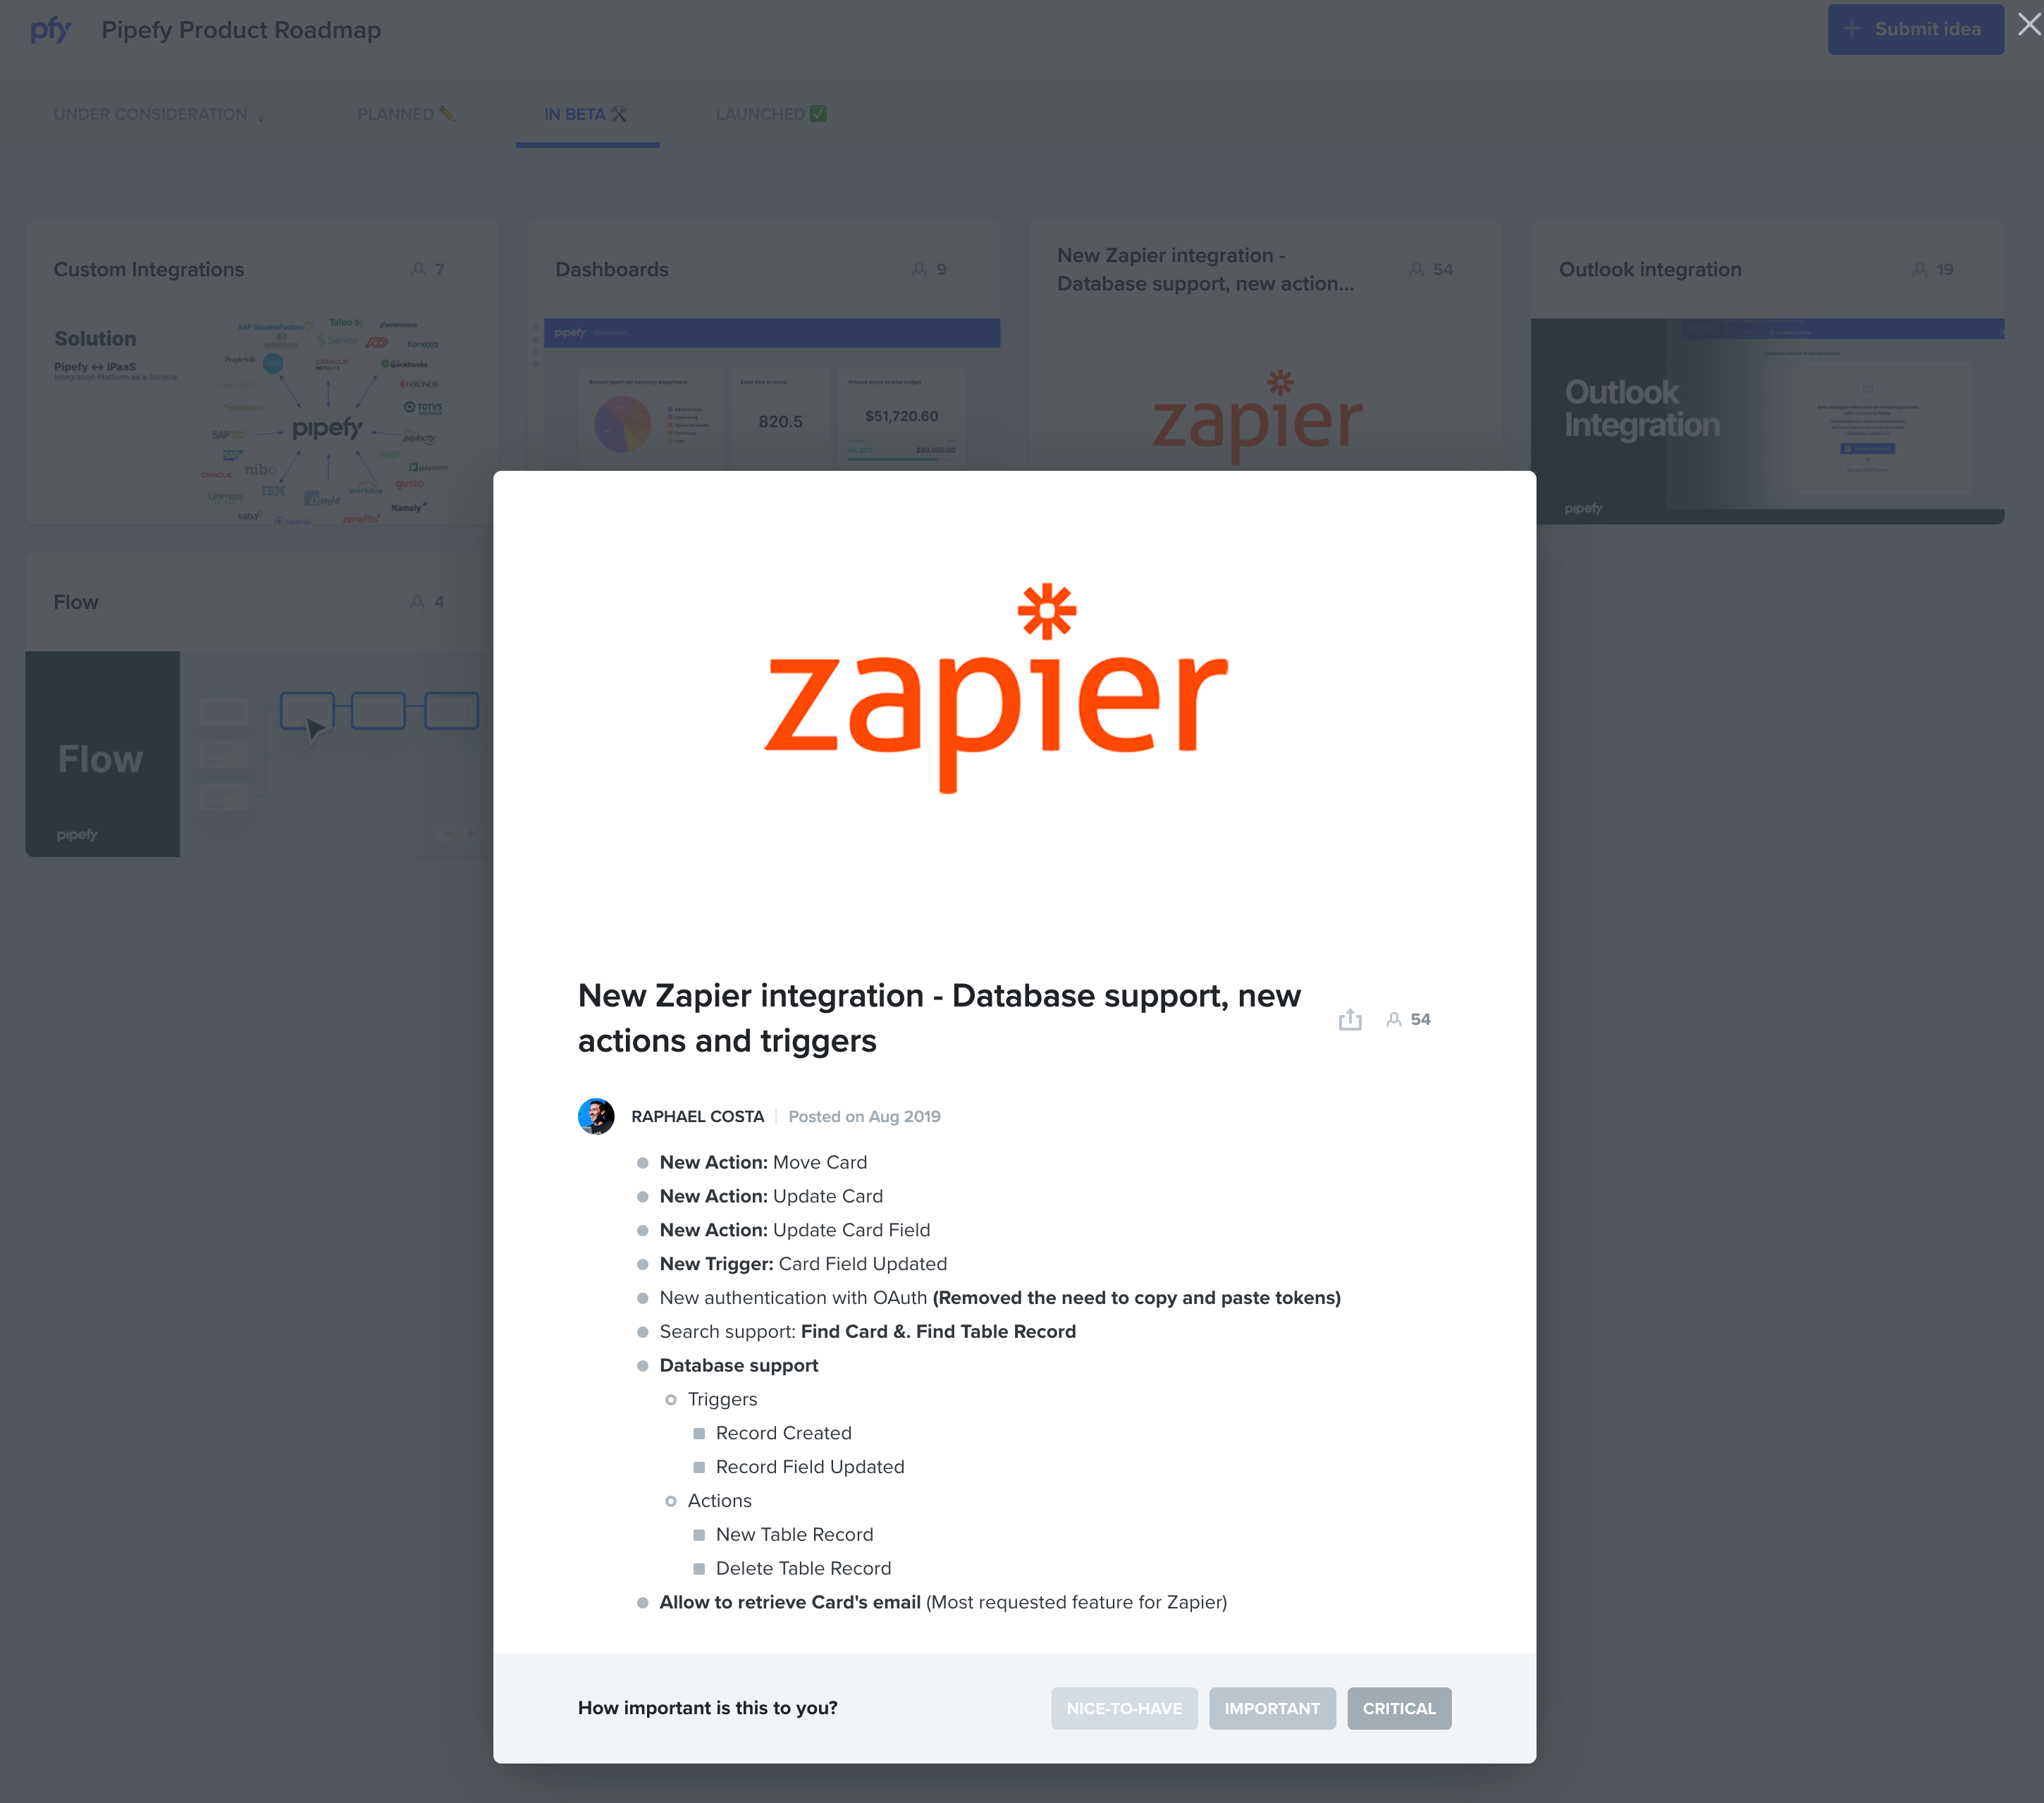
When / How we can get access to beta features in this roadmap https://roadmap.pipefy.com/tabs/15-in-beta

In particular the Card Field Updated trigger for Zapier will be very helpful in our process.


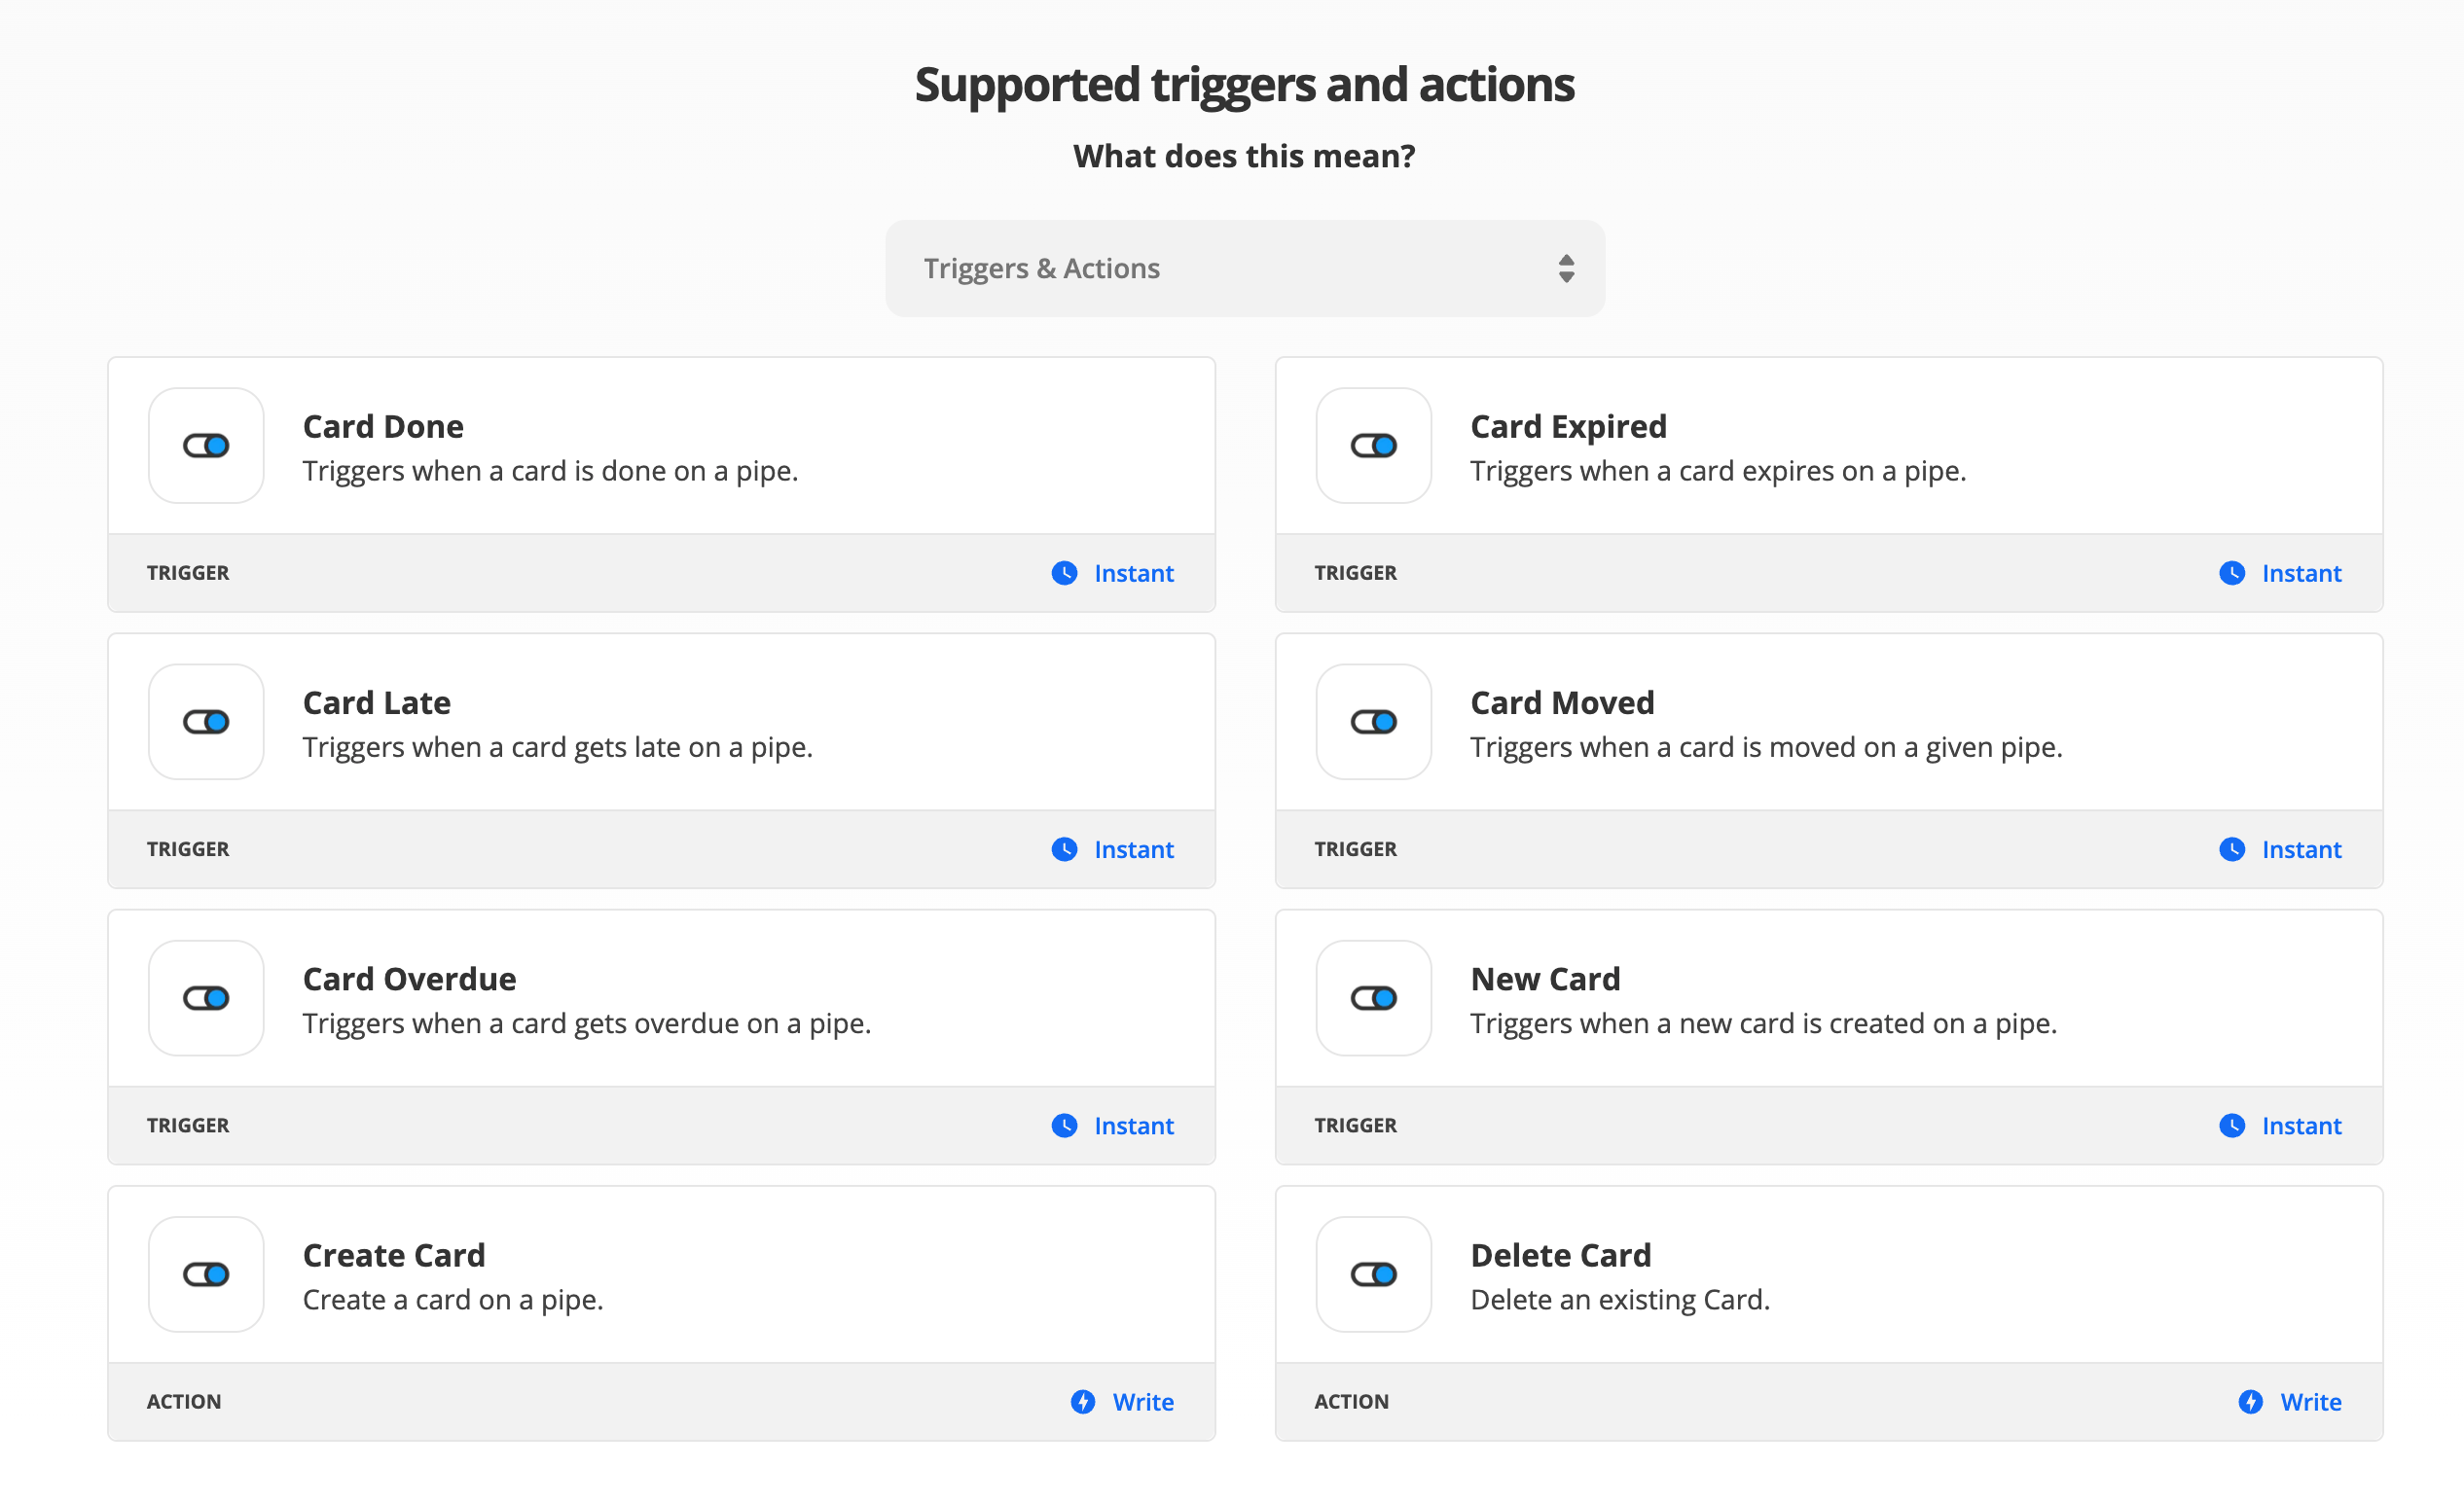
Currently we only see the triggers available here https://zapier.com/apps/pipefy/integrations


icon

Best answer by genietim 16 December 2021, 15:56

View original

This topic has been closed for comments

5 replies

Userlevel 7
Badge +12

I cannot answer how to get into the Zappier beta, unfortunately, but if you don’t, there is always the possibility to add the Card Field Updated trigger manually to Zappier, Integromat etc. as a Webhook-Trigger. Tell me if you need more details about that.

Userlevel 2

Thanks, that will help me to solve my issue, please tell me more about that.

Userlevel 7
Badge +12

Alright.

Two-parts: the one in Zapier, and the one that unfortunately requires a bit of code (but don’t worry, just once, and I will tell you what to copy-paste and what to replace).

Part One: Zapier.

In Zapier, as a trigger, you want to setup a Webhook.

The documentation by Zapier itself is better than I could do here. You can find it: https://zapier.com/help/create/code-webhooks/trigger-zaps-from-webhooks

The relevant step where Pipefy (and part 2) comes to play is step 3 in the link above — that’s when you can close Zapier’s documentation and continue here.


Part Two: Pipefy

To register the webhook URL you got from Zapier, you need to register the webhook in Pipefy.

To do that, we need to send a GraphQL request to the Pipefy API.

The request for card field update looks like this:

mutation {
createWebhook(input:
{
actions: [
"card.field_update"
],
name: "<Some Name to Remember What This WebHook Does>",
url: "<The URL you got From Zapier>",
pipe_id: "<The ID of the Pipe you want the WebHook to be associated with>"
}) {
clientMutationId
}
}

Please replace all the content between < and > (including < and >).

To get the ID of the pipe, open the Pipefy pipe and look at the URL: it will look something like https://app.pipefy.com/pipes/<here_is_your_id>!

Now, when you have prepared the query, to run it, you can open https://app.pipefy.com/graphiql (after you logged in to Pipefy), paste the code above with your replacement in the left field and press the play button.

If the response you get in the right side of the graphiql site does not contain “error” or similar, it should work and trigger now. Time to setup the rest of your Zapier workflow. The request sent to the webhook by Pipefy contains some JSON encoded data that can be useful (i.e. the card id, the field that changed, etc.).
Userlevel 2

That work perfect, thank’s for your time and response.

Userlevel 7
Badge +11

Alright.

Two-parts: the one in Zapier, and the one that unfortunately requires a bit of code (but don’t worry, just once, and I will tell you what to copy-paste and what to replace).

Part One: Zapier.

In Zapier, as a trigger, you want to setup a Webhook.

The documentation by Zapier itself is better than I could do here. You can find it: https://zapier.com/help/create/code-webhooks/trigger-zaps-from-webhooks

The relevant step where Pipefy (and part 2) comes to play is step 3 in the link above — that’s when you can close Zapier’s documentation and continue here.


Part Two: Pipefy

To register the webhook URL you got from Zapier, you need to register the webhook in Pipefy.

To do that, we need to send a GraphQL request to the Pipefy API.

The request for card field update looks like this:

mutation {
createWebhook(input:
{
actions: [
"card.field_update"
],
name: "<Some Name to Remember What This WebHook Does>",
url: "<The URL you got From Zapier>",
pipe_id: "<The ID of the Pipe you want the WebHook to be associated with>"
}) {
clientMutationId
}
}

Please replace all the content between < and > (including < and >).

To get the ID of the pipe, open the Pipefy pipe and look at the URL: it will look something like https://app.pipefy.com/pipes/<here_is_your_id>!

Now, when you have prepared the query, to run it, you can open https://app.pipefy.com/graphiql (after you logged in to Pipefy), paste the code above with your replacement in the left field and press the play button.

If the response you get in the right side of the graphiql site does not contain “error” or similar, it should work and trigger now. Time to setup the rest of your Zapier workflow. The request sent to the webhook by Pipefy contains some JSON encoded data that can be useful (i.e. the card id, the field that changed, etc.).

This is awesome, thanks for sharing!