
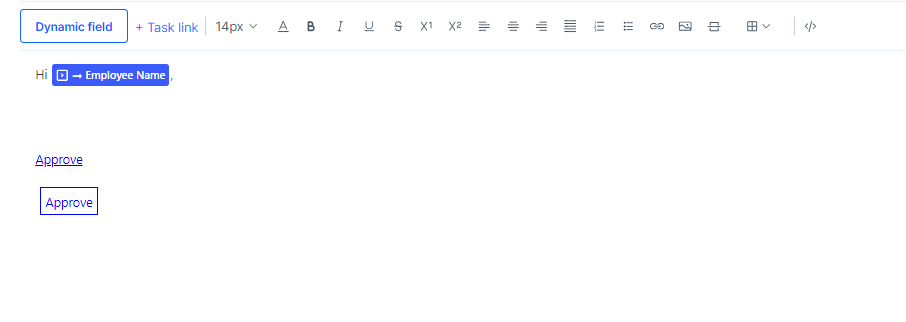
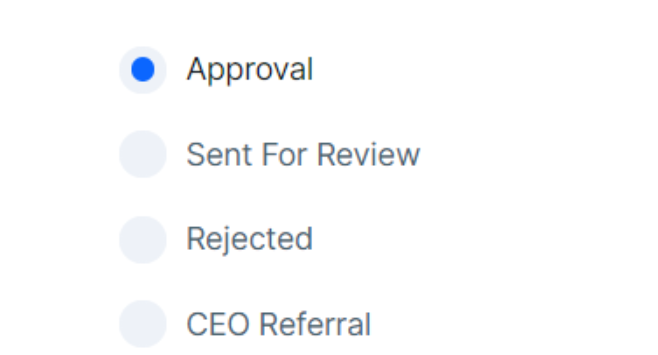
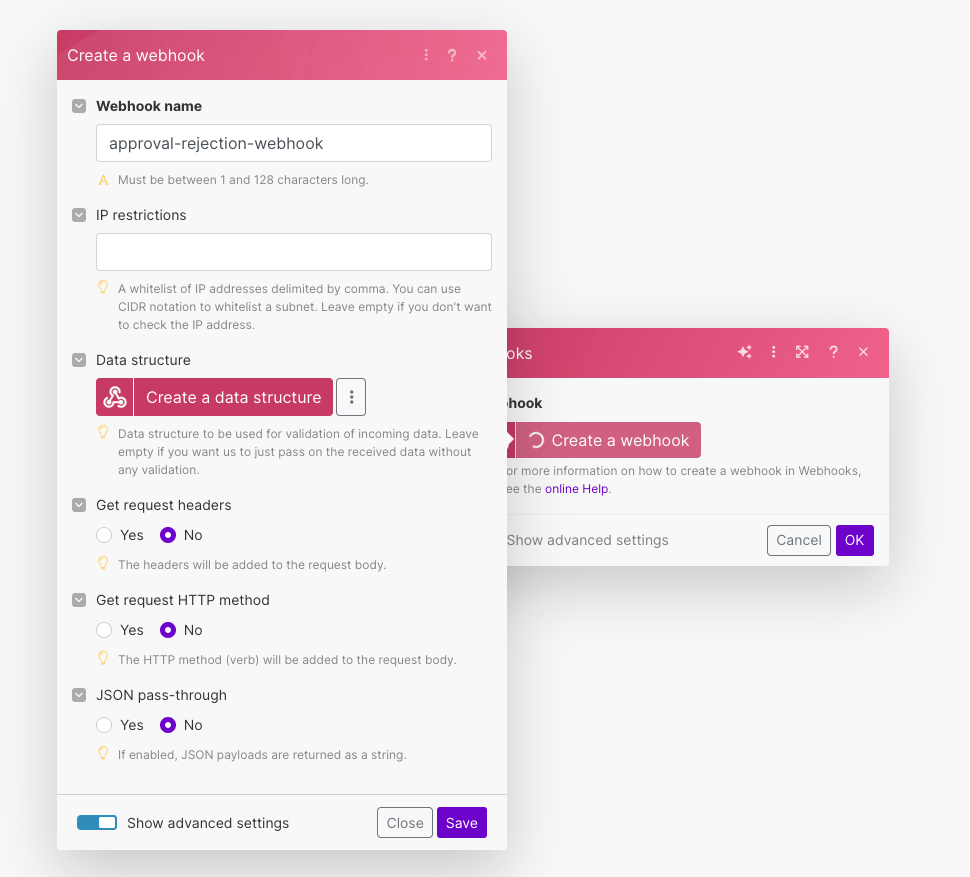
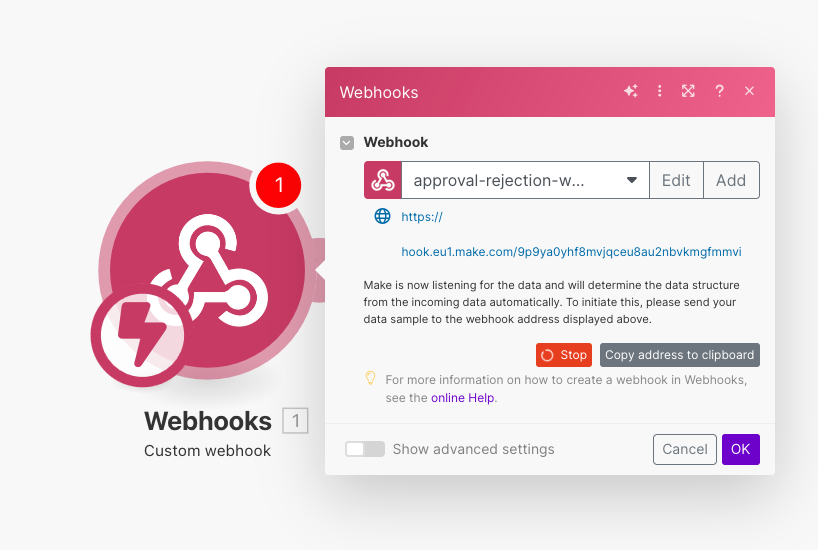
Hi guys, how do you add 2 buttons ‘Approve’ & ‘Reject’ to the email Template. Please can you also add a screenshot of the coding with your illustration. Thanks

Question
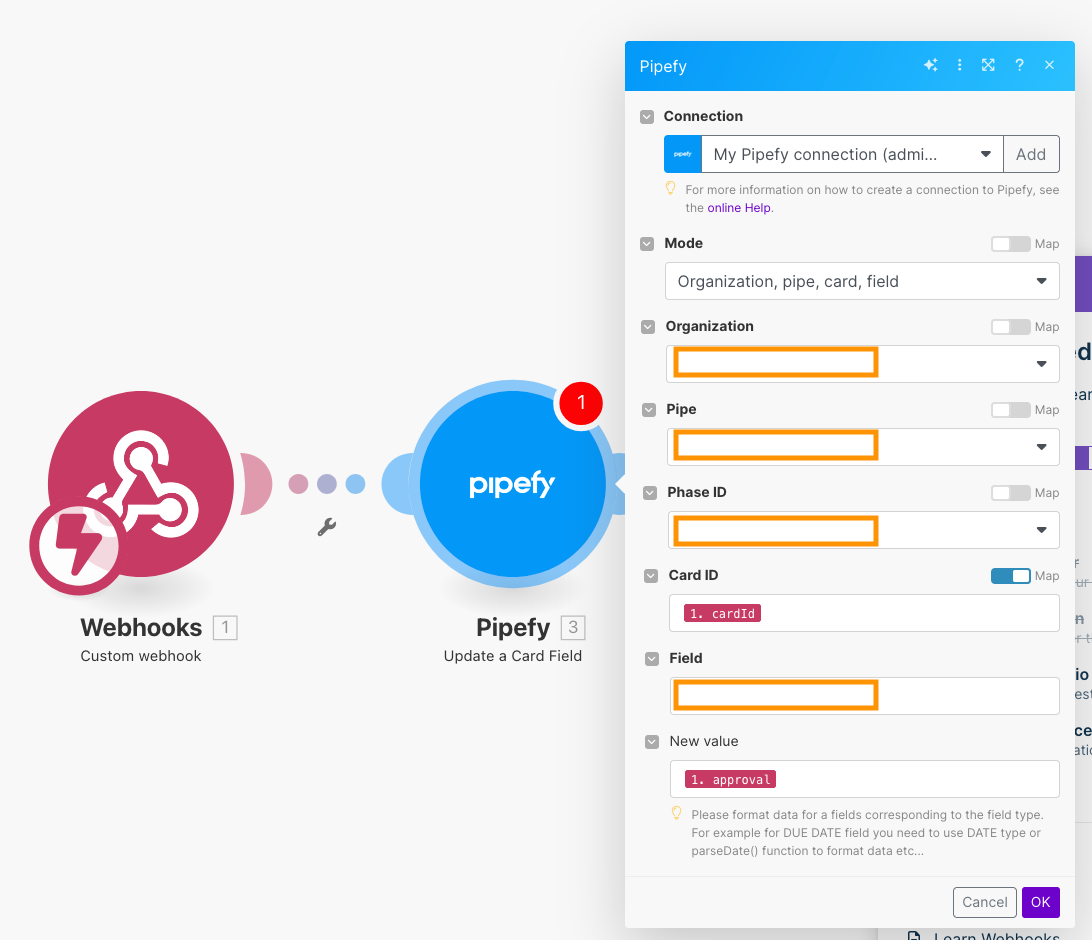
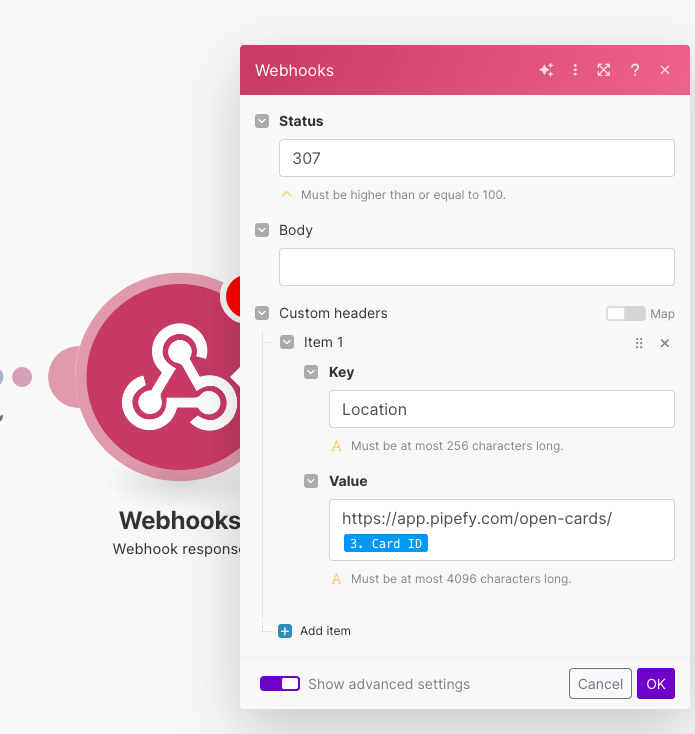
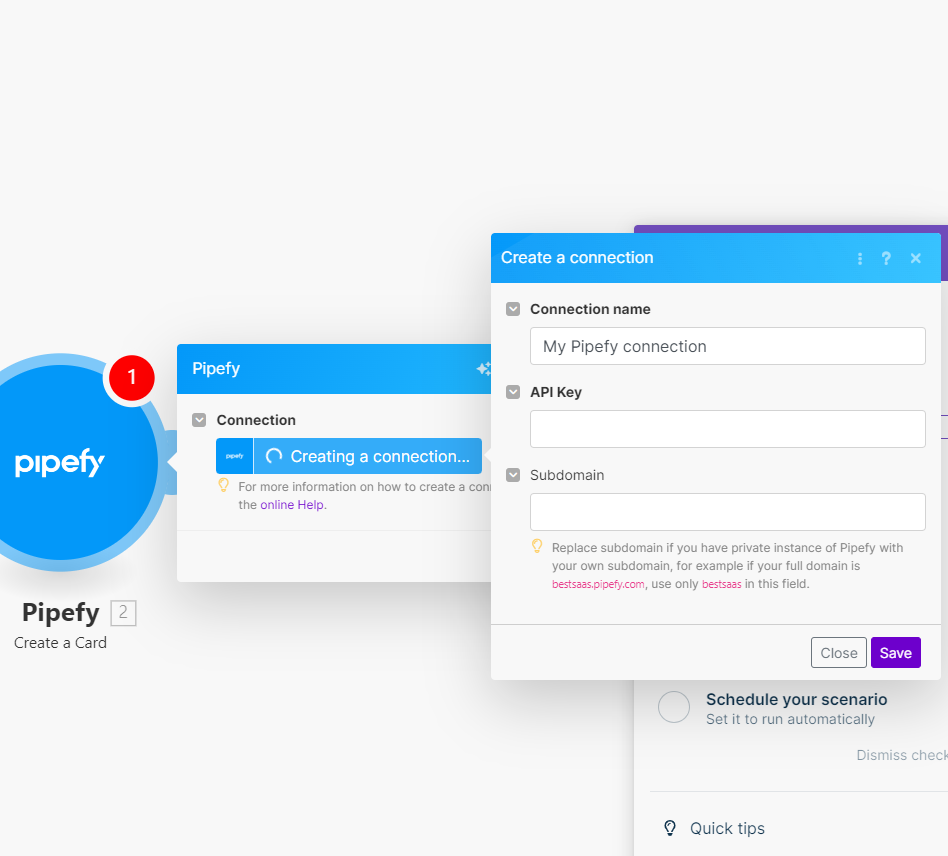
Adding buttons to email template


Join us in the Pipefy Community! 🚀
No account yet? Create an account
Login with your Pipefy credentials
or
Enter your E-mail address. We'll send you an e-mail with instructions to reset your password.