Alright.
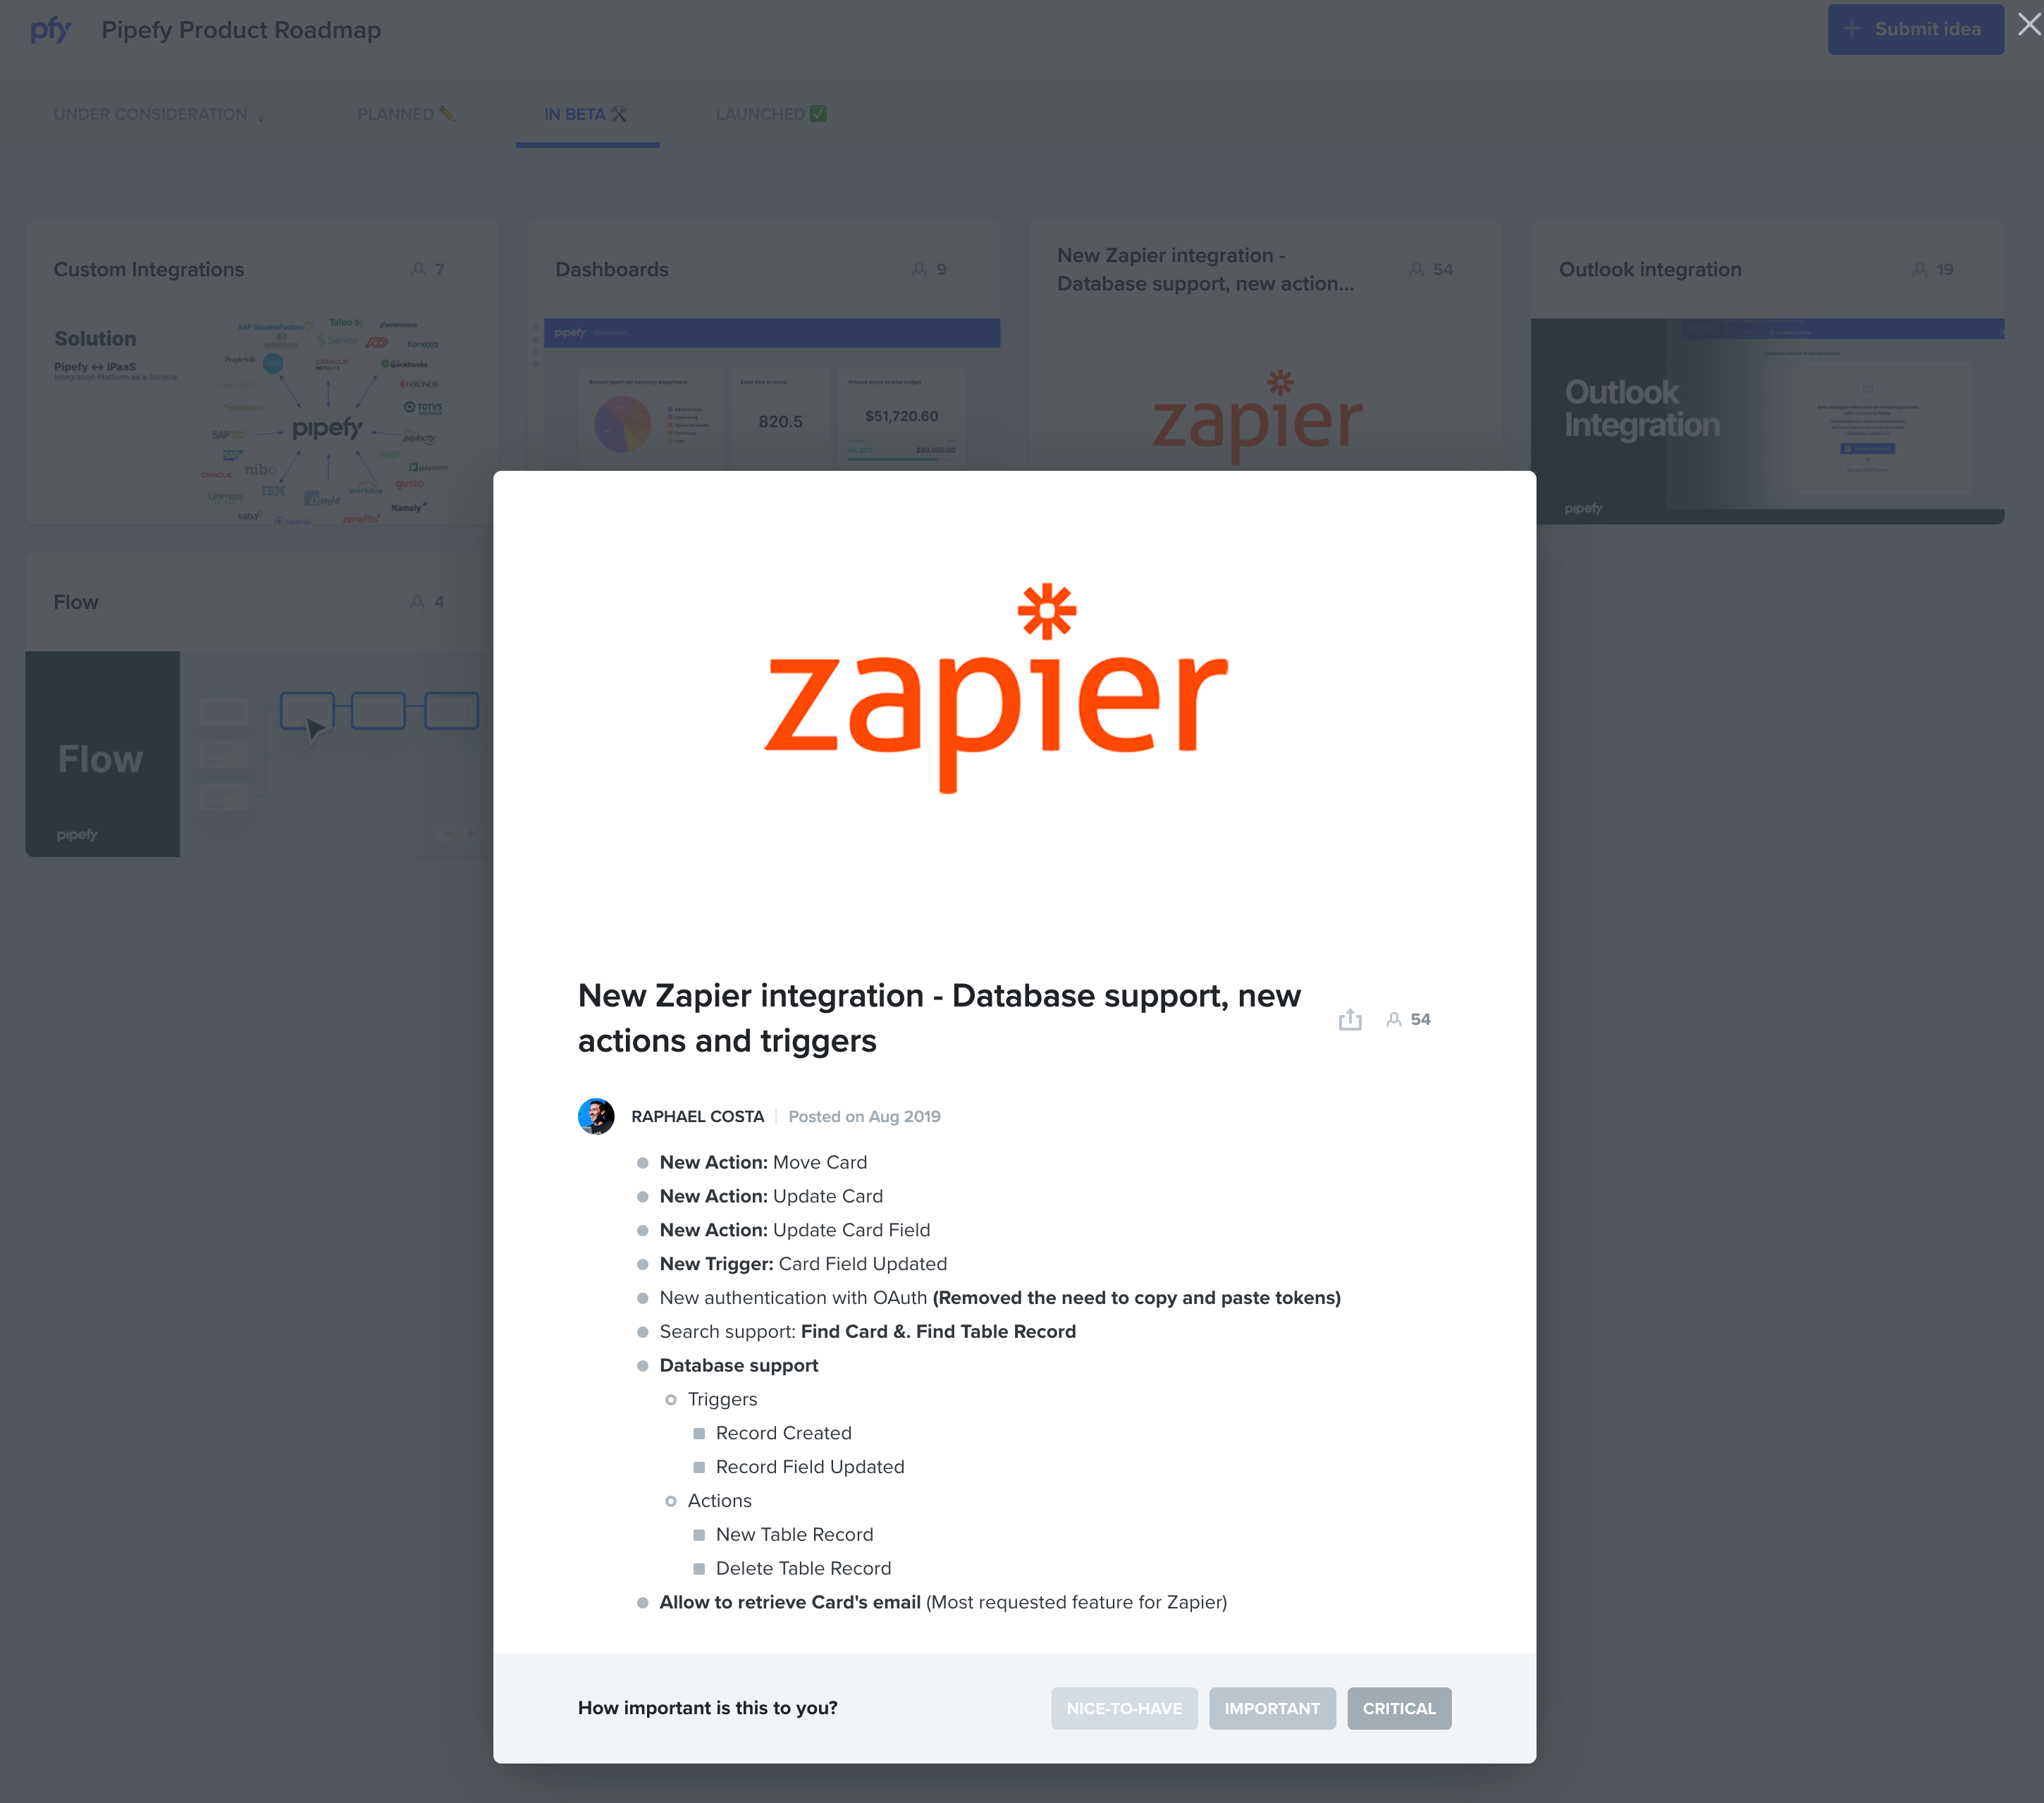
Two-parts: the one in Zapier, and the one that unfortunately requires a bit of code (but don’t worry, just once, and I will tell you what to copy-paste and what to replace).
Part One: Zapier.
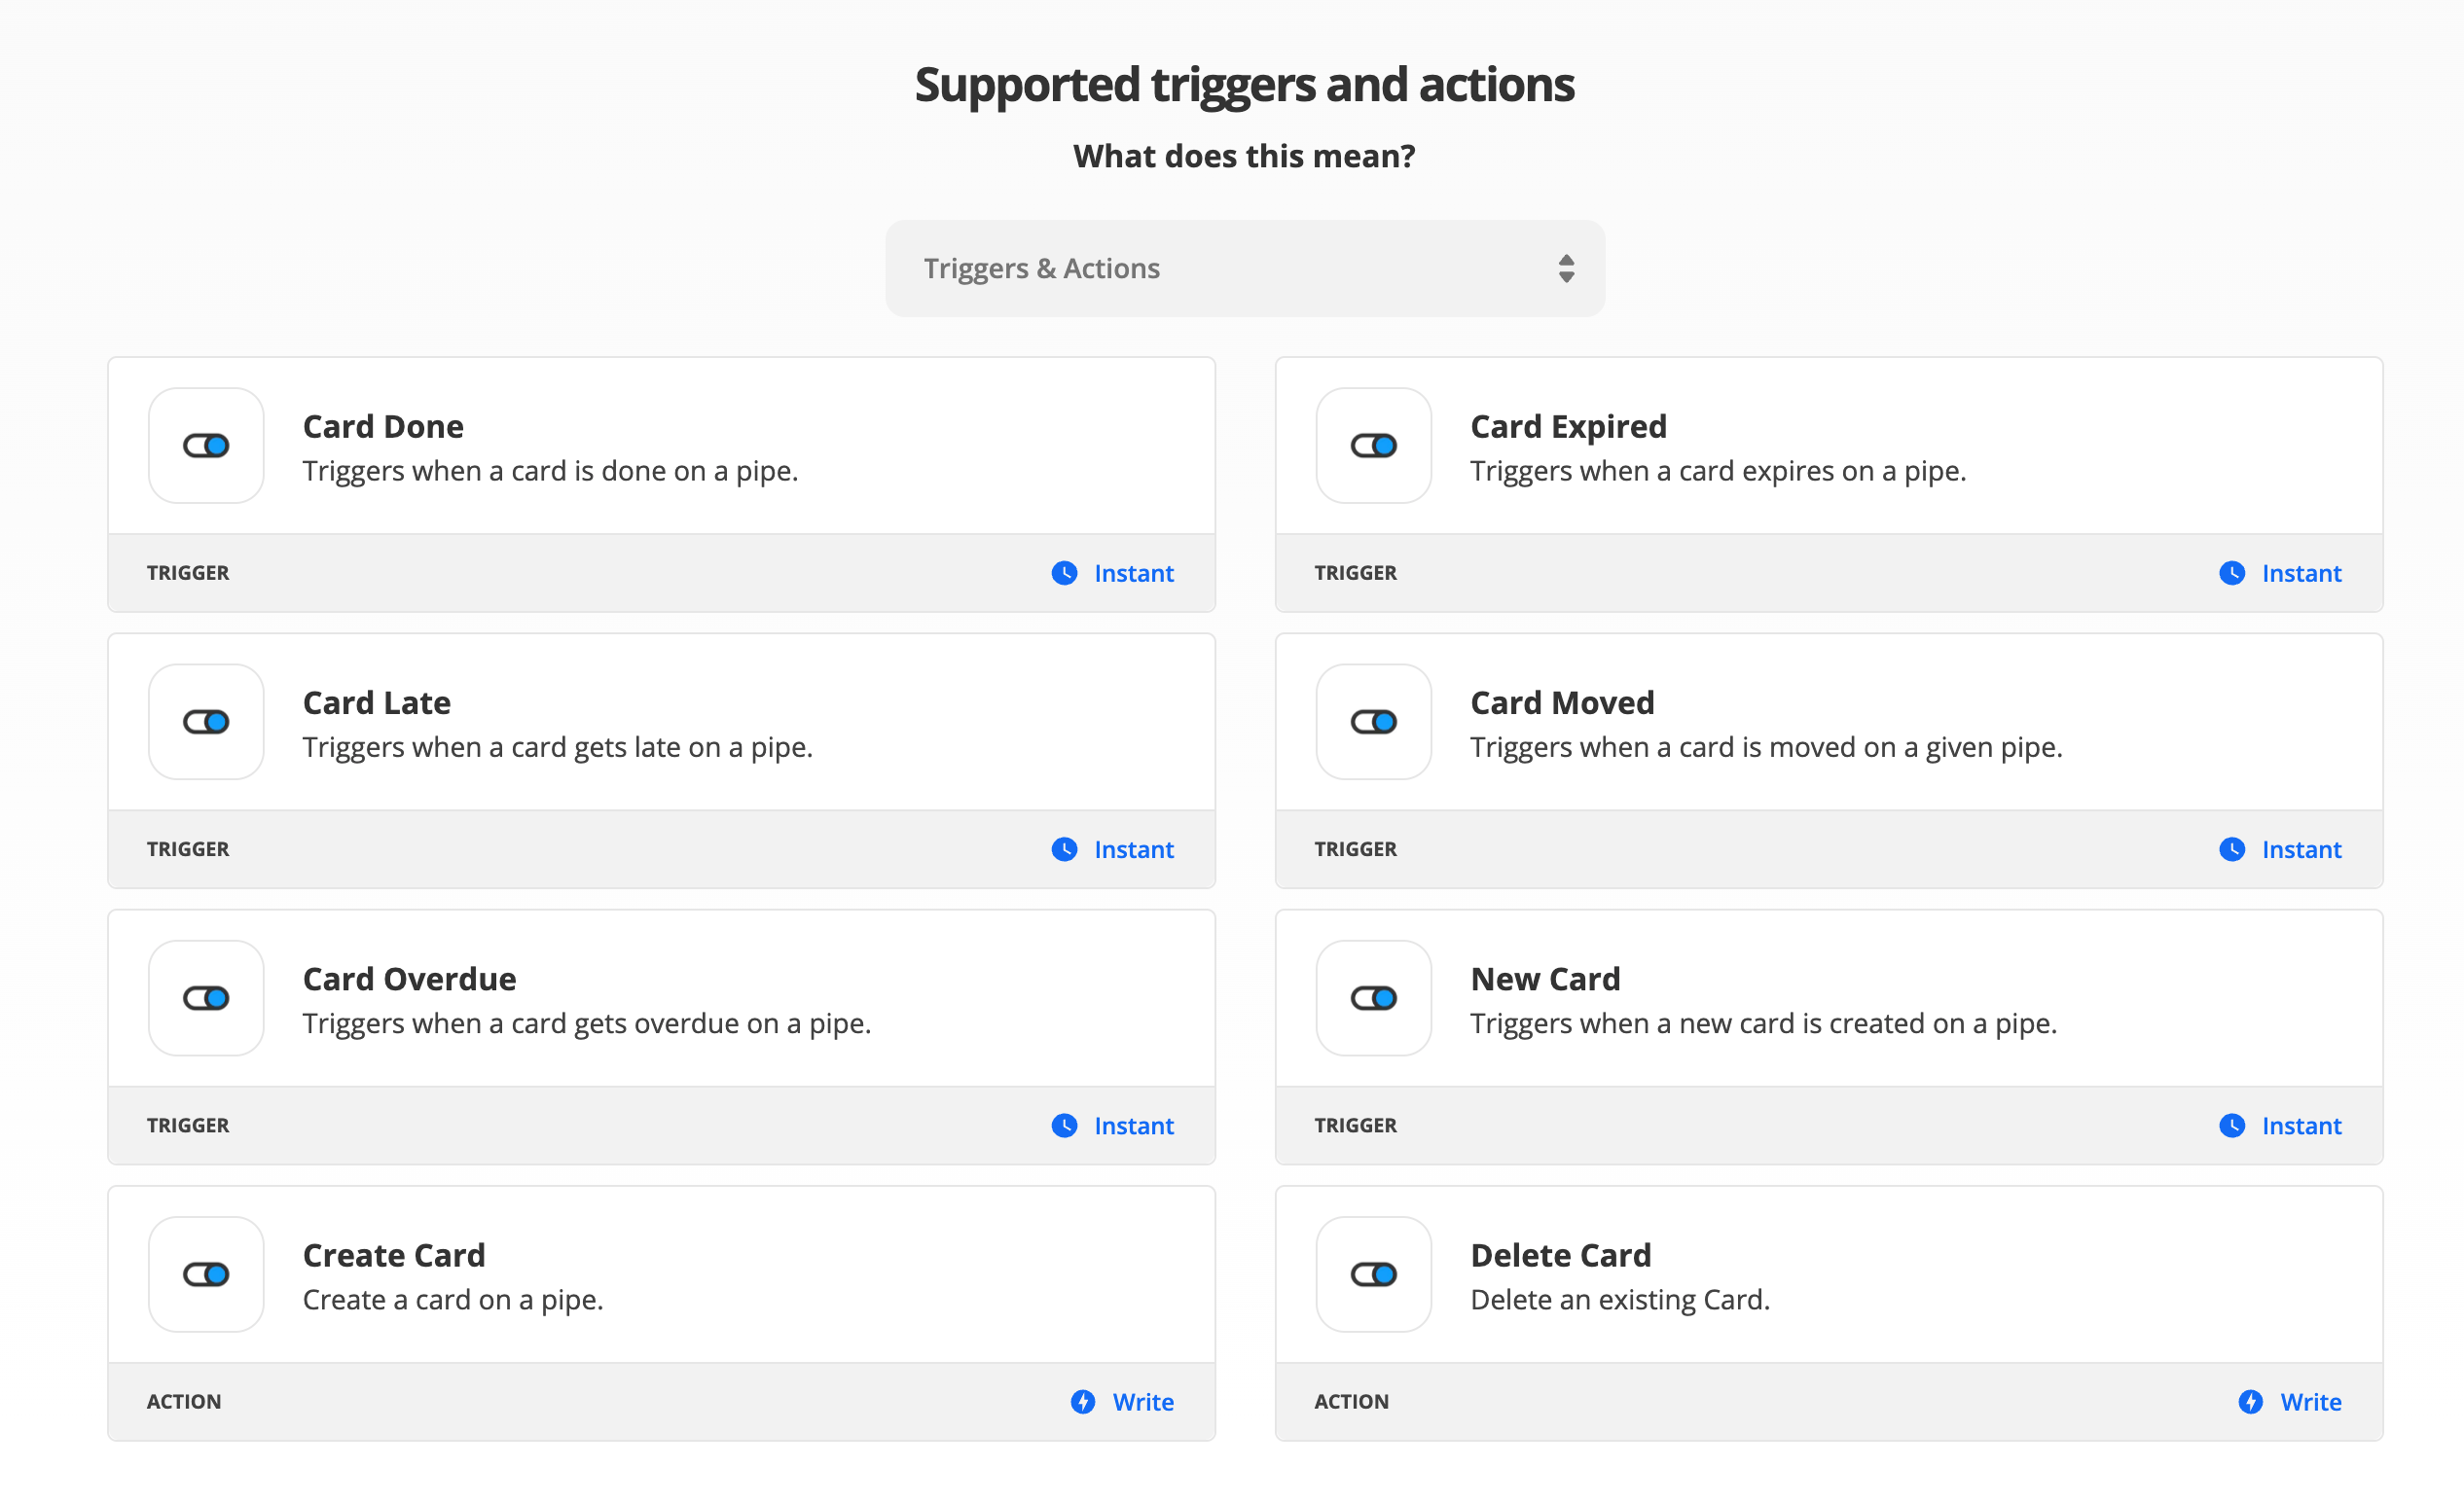
In Zapier, as a trigger, you want to setup a Webhook.
The documentation by Zapier itself is better than I could do here. You can find it: https://zapier.com/help/create/code-webhooks/trigger-zaps-from-webhooks
The relevant step where Pipefy (and part 2) comes to play is step 3 in the link above — that’s when you can close Zapier’s documentation and continue here.
Part Two: Pipefy
To register the webhook URL you got from Zapier, you need to register the webhook in Pipefy.
To do that, we need to send a GraphQL request to the Pipefy API.
The request for card field update looks like this:
mutation {
    createWebhook(input:
    {
        actions: [
            "card.field_update"
        ],
        name: "<Some Name to Remember What This WebHook Does>",
        url: "<The URL you got From Zapier>",
        pipe_id: "<The ID of the Pipe you want the WebHook to be associated with>"
    }) {
        clientMutationId
    }
}
Please replace all the content between < and > (including < and >).
To get the ID of the pipe, open the Pipefy pipe and look at the URL: it will look something like https://app.pipefy.com/pipes/<here_is_your_id>!
Now, when you have prepared the query, to run it, you can open https://app.pipefy.com/graphiql (after you logged in to Pipefy), paste the code above with your replacement in the left field and press the play button.
If the response you get in the right side of the graphiql site does not contain “error” or similar, it should work and trigger now. Time to setup the rest of your Zapier workflow. The request sent to the webhook by Pipefy contains some JSON encoded data that can be useful (i.e. the card id, the field that changed, etc.).


